How I set up my blog
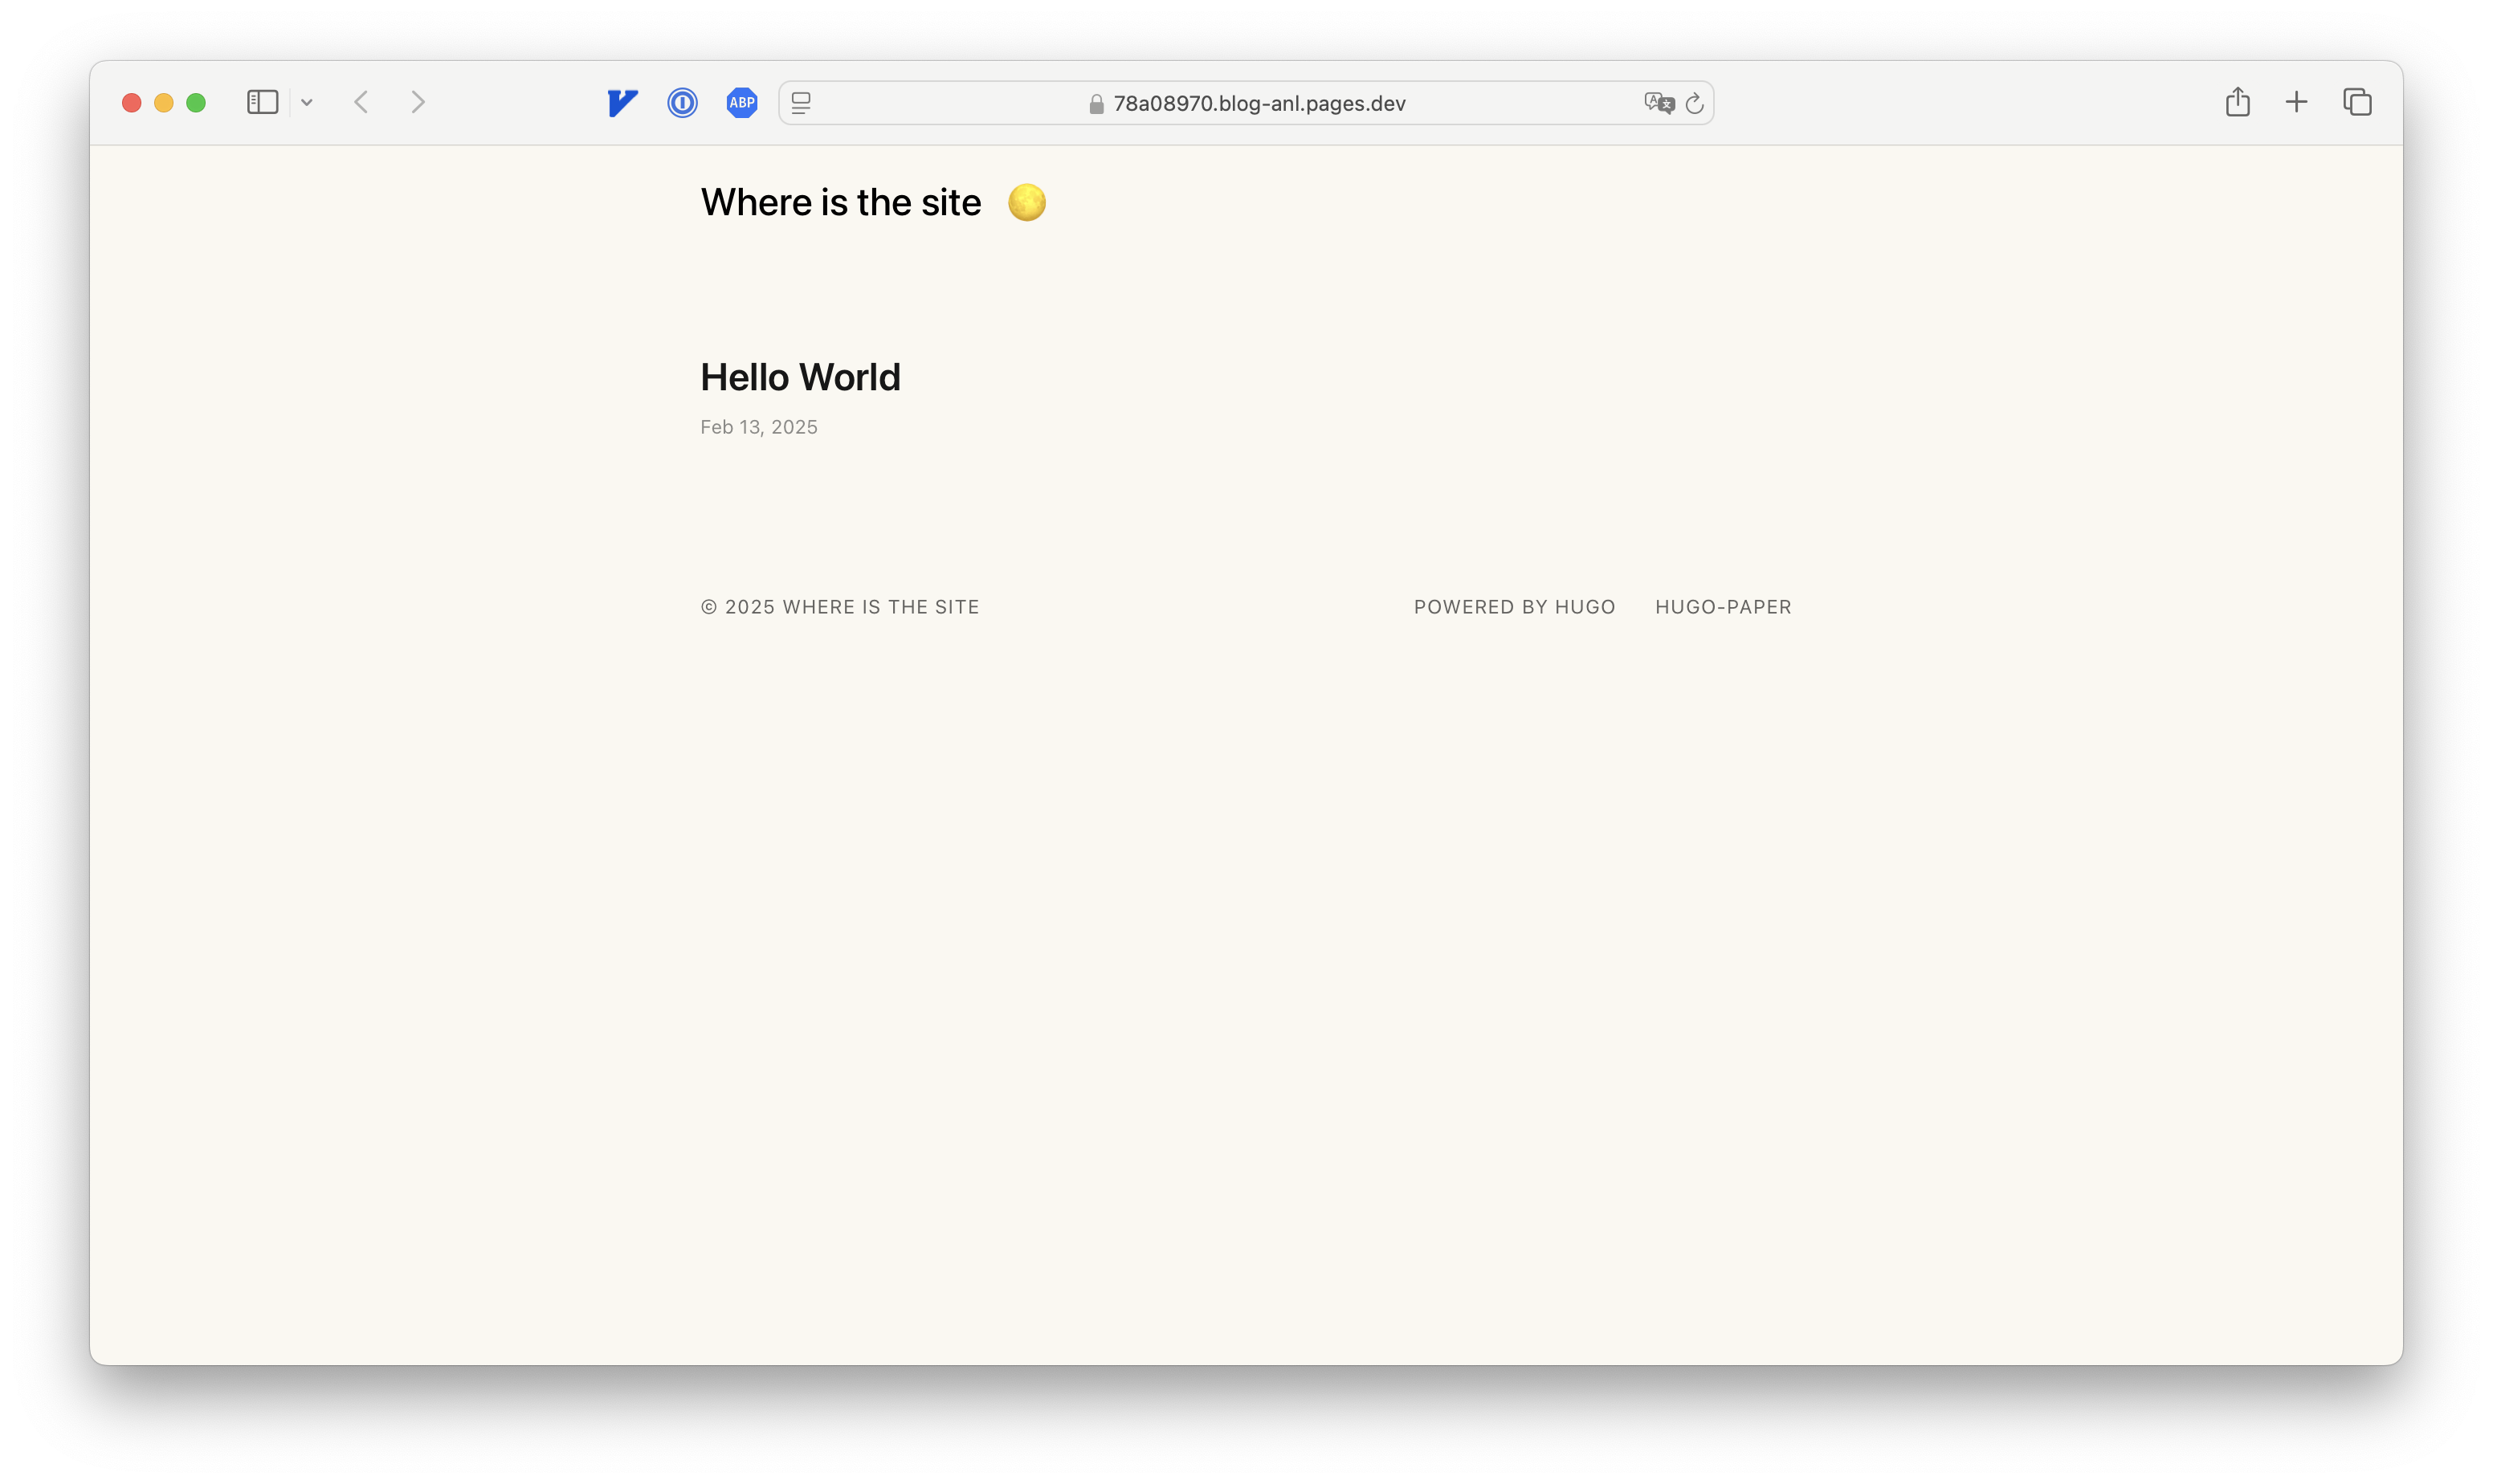
I created yet another blog to write stuff. Here is what it looks like:
This blog talks about what did I do to set it up. It is created using Hugo, and hosted on Cloudflare Pages via Github. All free.
Hugo is a free tool that takes simple text I write and turns it into a blog website. Cloudflare Pages is a platform to host the actual website I create on the Internet. Github is a platform to store code (or really anything digitally), track changes and open to others for e.g. sharing and collaboration. Some basic knowledge of the three tools would make reading the following a bit easier, but not required.
The rest of blog walks through the how-to step by step:
- Use Hugo locally to create the blog
- Setup Github to host and track the Hugo files
- Deploy the blog to Cloudflare Pages
Use Hugo to create the blog
First of all I setup Hugo locally to create the blog. Practically speaking, it means I need to use tools Hugo provides to generate a bunch of files that are used to configure how does my site look and feel, and then another bunch of files generated based the first bunch that actually represent my website (like a HTML file of the home page). My laptop is a Macbook so I follow this instruction to install Hugo. I then follow this Hugo documentation page to create a new site, select a theme for the site, and create a new blog to the site, all in one folder. The folder looks roughly like below. Each subfolder serves its own usage, but for now only a few are relevant as pointed out below.
my-hugo-site/
├── archetypes/
├── assets/
├── content/         <-- the actual blog content is here
│   └── posts/       <-- blog posts
├── data/
├── i18n/
├── layouts/
├── public/
├── static/
├── themes/
│   └── paper/       <-- the theme you selected
└── hugo.toml        <-- the site configuration
Besides deploying to Cloudflare Pages, it is also possible to run the blog locally on my laptop by issuing this command under the site root folder my-hugo-site:
hugo server -D
The flag -D is to tell Hugo to include draft posts in the blog as well. When I create a post, by default Hugo marks it as a draft by adding the line draft = true in the post. Without the flag, draft posts won’t show up as blogs in the website. Alternatively, removing that line from the post “publishes” the post and Hugo would include it automatically.
Setup Github to host and track the blog
Practically speaking, this step puts the files of my blog somewhere on the Internet to be discoverable and readable. It also enables easy integrations with other servides such as Cloudflare Pages. It is necessary to automate the deployment to Cloudflare Pages.
There is a plenty of tutorials on how to create a new repository in Github and push the local files to the repository. I won’t cover it as I didn’t do anything extra or special here. The only thing to mention is that to push to the repository hosted online at Github, I need to authenticate myself with my Github credentials. Unfortunately, Github has disabled using password as part of the credentials there - one has to use either an access token or rely on special tools like Github command line tool. This is quite complex.
Deploy the blog to Cloudflare Pages
One might wonder: didn’t we already use Github to host the blog, why do we need this step? Github is more of a file storage, if you will, with other features such as collaboration and version tracking. It requires a computer to process the blog files and render them into a website when visitors come. That is what Cloudflare Pages does.
Cloudflare Pages supports integrating with Github such that every time there’s a new change in the Github repository (that I push in from my local version), it automatically fetches all the file and deloy them again, ensuring the website it renders always stays at the latest.
I follow the instruction here provided by Cloudflare. Steps are straightfoward except one thing: remember to remove the line baseurl = "https://example.com" from the hugo.toml configuration file. This line is automatically generated when I generate the site, but is wrong because it points to a fake website as an example. This is supposed to tell Hugo the full URL of the website for various purpose. Removing it does not hurt the basic functionality, and I can add it back when I do have an actual URL/domain for my blog.
That’s it! I have a blog again.